 |
By: Pat Lefemine - Founder, Bowsite.com and DeerBuilder.com |
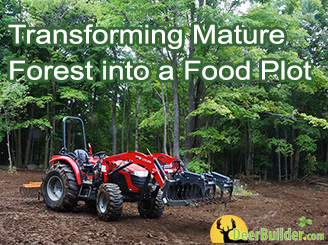
How to Transform Mature Forest into the Perfect Food Plot
Some hunters and landowners are blessed with having lots of tillable, cleared ground in the perfect location. For the rest of us, we have two choices: live with the existing tillable locations forever, or change it and build the perfect plot in the perfect location. In this how-to feature we’re going to show you what it takes to turn a mature forest into a food plot. Many times, in just a few short hours. It’s not hard, but it requires the right equipment. But let’s first start with the hard decision – should you do this yourself?
Best time of year for your Clearing Project?
By far, the best times of year to get started is either late winter/early spring, or middle of summer. Let me explain. Late winter is my favorite. The leaves are off the trees and brush and you can see what you are working with. The weather is cooler and the ground is typically hard. Make sure the ground is dry, however. If you’re ground is covered in snow or the melted snow has created a soggy mess, wait until things dry out. My second choice is the middle of summer. This is when I did my project. The winter of 2013-14 dumped 220” of snow at my property and that snow stayed on the ground until mid-May. By the time the ground dried up it was well into summer. This was not ideal but it worked. Obviously, you never want to do this job during the wetter times of the year or during hunting season.
Watch the video of this entire process
Discuss this project on our forums
DIY or Hire Out?
Clearing a mature forest is hard work. It can also be dangerous since it requires the use of heavy equipment and the need to drop trees. For that reason you need to consider your abilities and experience. If you’ve never cut down a tree or drove a tractor. Let’s be realistic right at the outset this job is not for you. My suspicion is that most hunters reading this article have the same attitude as me. The satisfaction derived from transforming your property is doing it yourself. But let me reiterate, this function goes far beyond tilling a field, liming and seeding. So carefully consider your options and keep safety at the top of your list. If you honestly believe this is not a DIY job that you are capable of doing, then consider the options of paying someone to do it, or Bartering for timber.
Bartering for Timber - If you have marketable trees you can approach a timber company to see if they would clear the parcel for you. This could be in trade for them keeping the lumber, or some combination of trade plus cash. The downside is unless there’s a sizeable parcel, the small tracts are probably not cost effective for them to move in equipment and clear the lot. You would probably need to give them more acreage before they’d agree to trade out the work. There’s a lot of variables here but the most important is the quality of the timber stand and how much money they can earn from harvesting it. If you have mature, straight cherry, they may say yes to parcels as small as two acres. If you have Red Maple and Ash like I do, they would never agree to the deal. If they do take the project, don’t expect the parcel to be ready to till. They will leave the ground rough, and you’ll need to tidy it up yourself with your tractor and attachments. Still, it’s an option.
Paying someone else – This option is the safest, but by far the most expensive. To clear an acre of land where I live in CT runs 4-7k depending on factors such as maturity of timber, presence of ledge and rock, and availability of contractors. In my area of NY (where my DeerBuilder property is located) contractors are hard to find and the quality of their work is all over the map. A turn-key job can potentially run as much as $10k. So consider this option carefully.
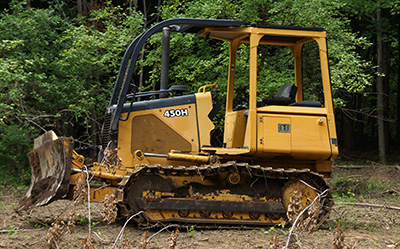
DIY – This is the option I chose. But then again, I’m experienced with a chainsaw, using a compact tractor, and I’m a quick study with heavy equipment. I purchased a used dozer and had done enough small jobs in my existing plots to feel comfortable with tackling a clearing project. If you’ve never used a dozer I think you’d find that it’s not hard to operate – especially if you’re mechanically inclined. This is especially true for the newer dozers with joystick controls rather than the older foot pedals and sticks. Please note, I do not feel the same way about an excavator. Excavators require more skill so you’re best sticking with the bulldozer or hiring someone with an excavator.
So now that you’ve decided on the DIY option and are anxious to get started, the first thing you need is equipment. Let’s look at the options.
Equipment Used
Bulldozer or Excavator – For landowners with larger tracts of land, purchasing a used bulldozer can be a smart decision. When I looked at the projects required on my 310 acres, I decided it was worth the 23k investment. This included my clearing projects, intense snow removal, maintaining 6 miles of dirt roads, and skidding trees – buying made sense. But for people who don’t own land or who do not have enough projects to justify the purchase, renting is the way to go. Renting a bulldozer is a very smart decision, but it’s expensive. For a dozer the size my John Deere 450h, plan on $1500-1800 per week. Some will rent them for a day, but by the time you add in the transport fee, time to become familiar with operating it (it’s pretty easy to use) you are going to spend just as much for 3 days as you would for a week. Excavators are not recommended for novices. There is a lot more involved with an excavator. Another option is to hire a local operator who owns either a dozer, or an excavator. Plan on $250 an hour plus transport fee. For many people this will be the best option. For our 1 acre project 75% of the project was spent on the dozer.
Farm Tractor or Skid Steer – We assume everyone taking on this project already owns a farm tractor that can accept attachments. Clearing a mature forest is serious work, so a small 15 HP tractor will not cut it. But if you have a tractor in the 35-80HP range you are in the ball park. My tractor is 55HP and has more than enough juice for this project. The tractor will be indispensable. You will need it for several steps including clearing, leveling and raking, liming and fertilizing, tilling and seeding. Attachments used
|


Step by Step
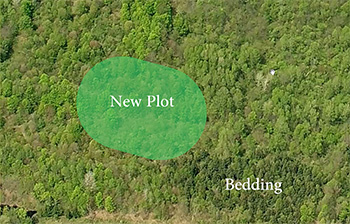 |
Planning Step – Planning starts on the ground. Know your location and lay out your plot taking into consideration travel corridors, prevailing winds, and ingress and egress routes. My next step is to map out the borders using an aerial photo and landmarks downloaded to my Garmin Oregon GPS. It’s much easier to map your borders this way and then red-flag the perimeter using those landmarks. I also green-flagged the apple trees and any other trees I wanted to leave intact. Once your site is flagged with fluorescent flagging tape you are ready to move in the equipment. This is also the perfect time to take your soil test. You are going to need it! |
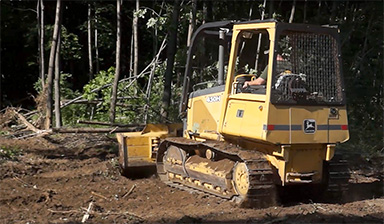
| Step 1 – Clearing. This is where the bulk of your time will be spent. For our 1 acre project the time spent on the dozer along with the tractor/Woods Root Grapple was 8 hours. Not too bad. This will vary depending on the maturity of your forest. Our trees were 20 years old, so 10 year old trees will be easier and 40 year old trees will be harder. Plan accordingly. | |
 |
Step 2 – Rough Grading. This was done entirely with the dozer. The rough clearing will create a mess with big holes from root balls and humps. I will tell you that dozer-grading is an art. I am inexperienced and while I did a decent job, it was far from perfect. |
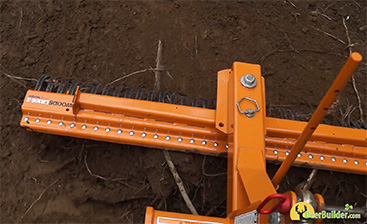 |
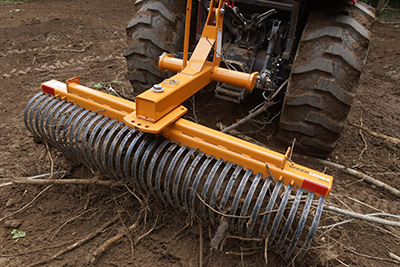
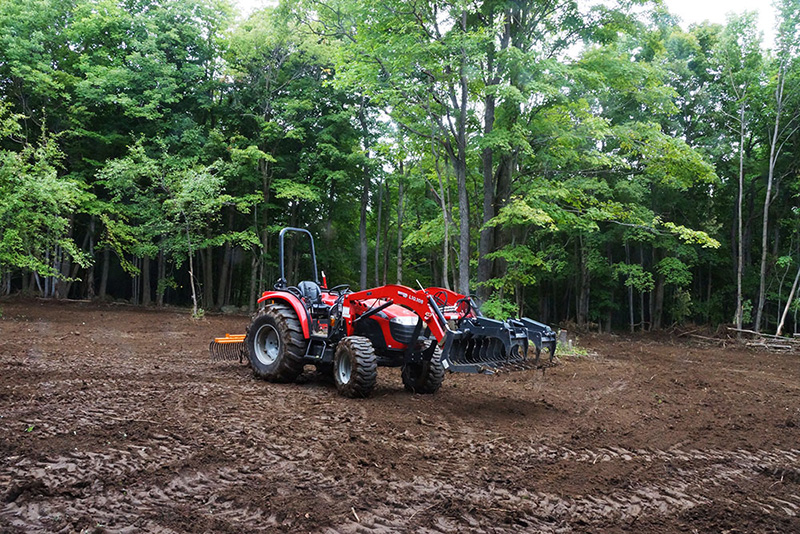
Step 3 – raking and leveling. The grading step will not clear up all the small debris and level the smaller clumps of soil. The best attachment for this is a landscape Rake. Mine was 106” but a 72” rake will work well too. The smaller the rake, the more maneuverable. The longer rakes get more work done quickly. They are generally not expensive attachments and you can use them for lots of jobs, not just clearing mature ground. |
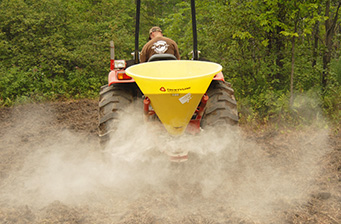 |
Step 4 – Liming and Fertilizing. The soil test you took during the planning step will tell you what is necessary to amend your soil. This is critical information. Since this was a mature forest you will likely need to amend the PH through Liming - and then start building up your soil fertility. My plot was only one acre and required a ton of lime and 500lbs of 19-19-19. I likely be adding another ton of lime and more fertilizer next year as well, amounts will vary depending on what my 2015 soil test recommends. |
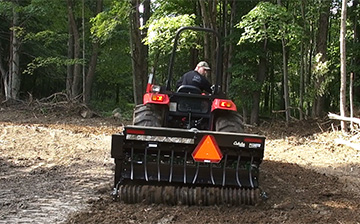 |
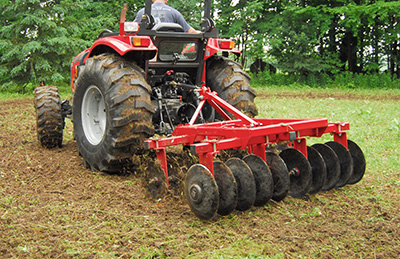
Step 5 – seeding. I used my Woods Precision Seeder which tilled, seeded and packed all with one pass. But you can also till with traditional disk harrows or rotary tillers, then hand seed. If your seeds require packing you can use a cultipacker or you can drive over the plot with your tractor or 4-wheeler. |
Results
The results of this project were outstanding. Sixty days after we wrapped up the project I had deer pouring into this plot. Our No.2 buck was captured here more than any of our other 10 foot plots on the property. This plot quickly became our top plot on the property. Now that it’s established, this plot will be here forever. Providing a strategic improvement for both a kill, and nutritional destination. These results made the twelve total hours and one-time expense worth it.
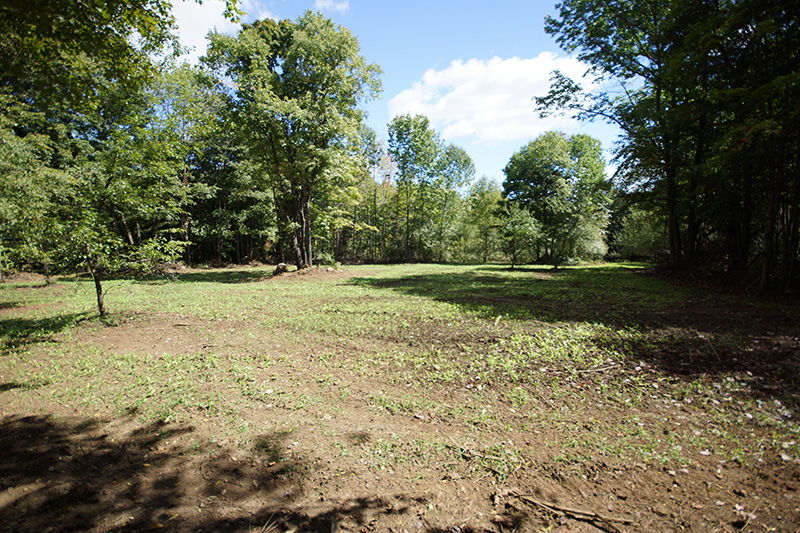
Finished Plot - August 26th
Initial Growth - September 7th
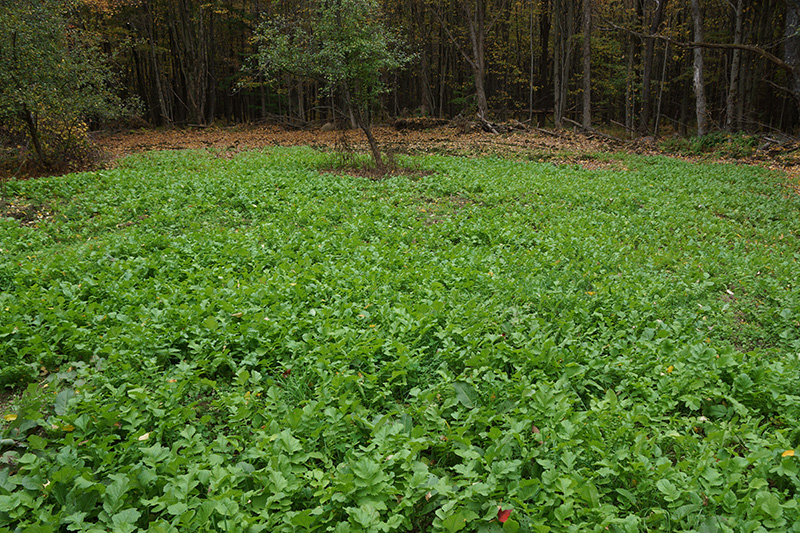
Lush Growth - October 3th
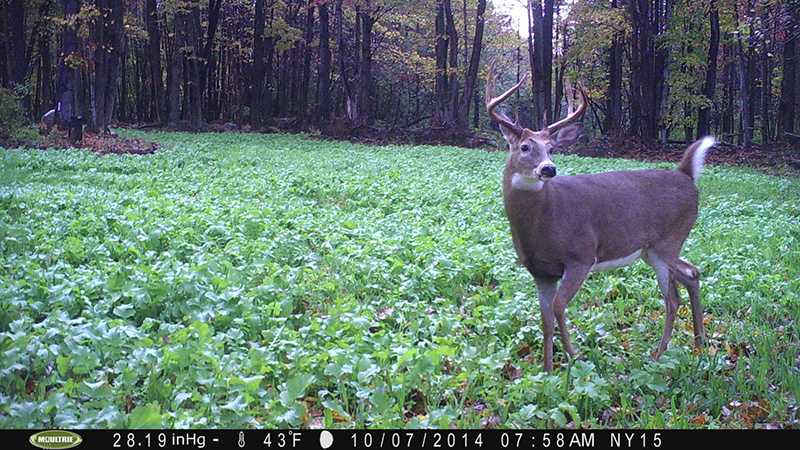
Trail Cam Photos - October 7th